If you’ve never been through a roof replacement before, the process can feel overwhelming. Homeowners often ask: How long will it take? What happens to my old roof? Will my property be protected during construction? These are important questions, and ones that deserve clear answers.
Roof replacement may seem complicated, but it follows a clear sequence designed to protect your home and ensure lasting performance. From initial inspection and material selection to scheduling, tear-off, installation, and final walkthrough, each stage has a defined role in making sure the job is done correctly.

Roof Inspection
A roof replacement begins with an inspection that documents current conditions and determines whether repair or full replacement is appropriate.
What the inspection covers
Inspectors evaluate the roof to identify active issues and underlying risks. Checkpoints include:
- Surface materials and edges: shingles or tiles, field condition, granule loss, and terminations.
- Water management: flashing at penetrations and walls, gutters, soffit, fascia, and overall drainage.
- Damage patterns: leaks, wind or hail impacts, deterioration, and any visible structural concerns.
During the inspection, the findings are linked to specific indicators of roof aging or potential failure. Triggers that point toward replacement include curling or missing shingles, deteriorated flashing, visible leaks or daylight coming through the deck, and granule loss.
Once the evaluation is complete, homeowners receive an identification of the roof’s condition. Sometimes a repair is enough, but when the roof reaches the end of its service life, replacement becomes the more reliable option. If storm damage is discovered, the inspection also serves as an important first step in documenting the loss for an insurance claim.
Choosing Materials and Planning the Roof Replacement
If the inspection confirms that a roof replacement is needed, the focus shifts to choosing the new roofing materials. This step defines both how the roof will perform in its climate and complements the appearance of the home.
Most homeowners will compare three main options:
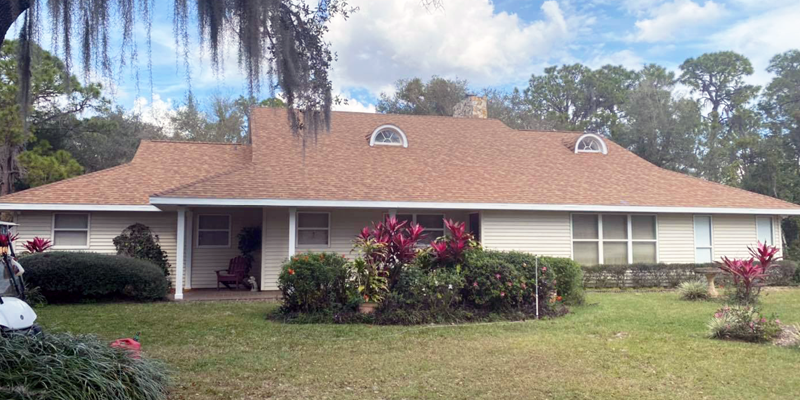
- Asphalt shingles remain the most widely used because of their affordability and variety of styles.
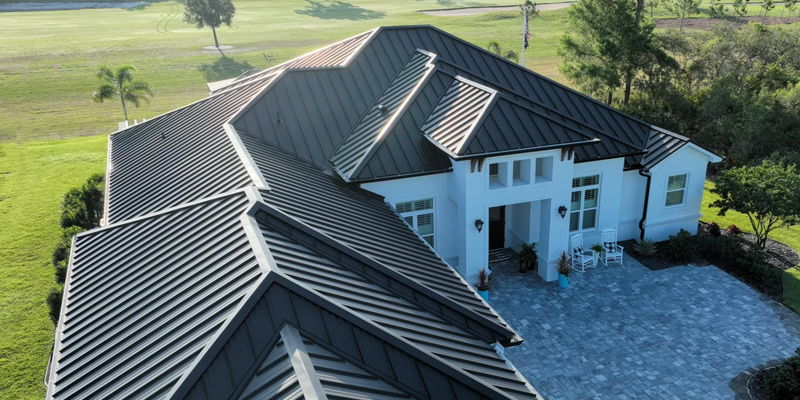
- Metal roofing offers superior wind resistance, energy efficiency, and a lifespan of 40–70 years.
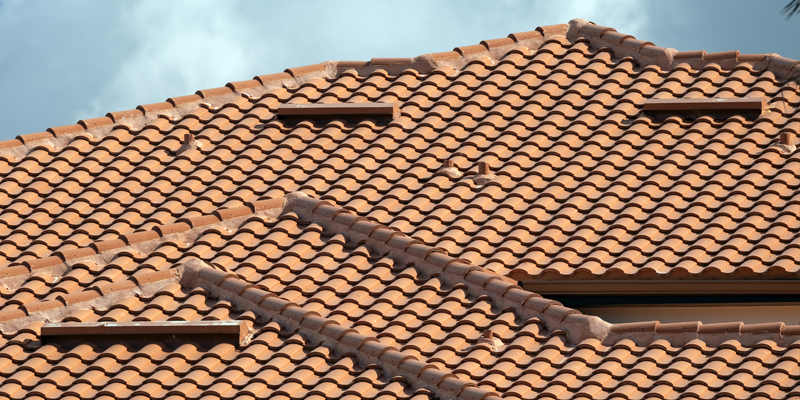
- Tile roofing offers a classic look and exceptional durability.
Each material type has its own balance of cost, lifespan, and maintenance needs, and comparing them side by side helps homeowners align their choice with their long-term goals.
Planning also involves reviewing warranties, selecting color, and considering performance, such as wind resistance. In Florida, building codes are strict, so permitting and inspection requirements are a part of the process. For homes governed by an HOA, approvals may also be required before work begins.
Preparing for Roof Replacement
With materials selected, the next step is scheduling the installation. Setting a clear timeline helps homeowners understand when work will begin, how long it is expected to take, and what preparations need to be made.
The length of a roof replacement depends on factors like roof size, pitch, and material choice. An average asphalt shingle replacement on a single-family home may take just one to three days under normal conditions. Metal or tile systems, or more complex rooflines, extend the schedule.
Homeowners can take a few steps to prepare their property. Clearing the driveway ensures space for trucks, dumpsters, and crew vehicles. Items stored in the attic or on walls may be temporarily relocated, as hammering can dislodge them. A reputable contractor will also provide specific guidance tailored to the property, so homeowners know exactly what to expect.

Tear-Off: Removing the Old Roof
Tear-off begins with site protection. Crews typically cover landscaping, windows, and walkways to shield against falling debris. A dumpster is placed nearby so old materials can be collected immediately, keeping the property as neat and safe as possible during the work.
With the home protected, the existing roof covering is removed down to the deck. Full tear-off is preferred over installing a new layer on top of the old one, because it eliminates the risk of covering damaged decking or moisture issues. Once stripped, the roof deck is inspected closely. Any rotted or weakened plywood is replaced, and in Florida, contractors must also ensure the deck is re-nailed to meet building code standards.
Finally, nails, shingles, underlayment, and flashing are removed and hauled away, leaving the structure clean and ready for installation.

Installing the New Roof
With the tear-off complete, installation of the new roof begins.
Installation starts with the underlayment. A waterproof barrier is laid across the deck, creating a second line of defense beneath the main roofing material. In Florida, this step is especially critical—state codes require reinforced underlayment and additional fastening to resist high winds.
Once the underlayment passes inspection, the main roofing material is installed. The exact process depends on the material selected: asphalt shingles are laid in overlapping rows and nailed to precise specifications; metal panels are measured, cut, and secured with specialized clips to prevent uplift; tile is set individually and aligned to create a uniform surface. Flashing is installed around skylights, vents, and chimneys to seal against leaks, while ridge vents or other ventilation systems are added to maintain airflow in the attic. Each step follows manufacturer guidelines and Florida’s strict building standards, ensuring the system is both durable and code-compliant.
Final Walkthrough
Once the last shingle, panel, or tile is in place, the work shifts from installation to ensuring the project is complete, safe, and clean.
The crew and project manager inspect the roof system to confirm that materials are installed to manufacturer specifications, flashing is sealed, and ventilation is properly in place. In Florida, this step often includes coordination with building inspectors to confirm compliance with local code before permits can be closed.
By understanding what happens at each stage, homeowners can approach a roof replacement with confidence. They know what to expect, how long it may take, and how their home will be protected throughout the process.